
You bought your orchid full of hope. It bloomed once, maybe twice, and then, nothing. Weeks turned into months. You adjusted the light, changed your watering routine, and tried a new spot on the windowsill. Still nothing.
Here's something most people don't think about: the problem might not be light, water, or love. It might be what your orchid is sitting in. The orchid soil mix you use plays a much bigger role in blooming than most plant parents realize, and getting it wrong can quietly stress your plant for months without showing any obvious signs.
In this blog, let's talk about why your orchids are not blooming and how the right orchid potting mix can turn things around.
First, Understand How Orchids Actually Grow in nature.
This is the thing that changes everything.
Most houseplants evolved in forest floors or open fields, places where soil is rich, moist, and dense. Orchids did not. Most orchids, especially the Phalaenopsis varieties you find at every garden center, are epiphytes (a plant or plant-like organism that grows on the surface of another plant ).
In a tropical rainforest, an orchid's roots cling to rough tree bark, dangling in the open air. Rain comes down hard, soaks the roots, then runs off. The roots dry out completely before the next rainfall. There's almost no soil involved whatsoever.
So when you put an orchid in regular soil for indoor plants, the kind that's dense, moisture-retaining, and designed to stay damp, you are asking a plant built for open air to suffocate underground. The roots cannot breathe. They sit wet for days. They start to break down quietly, and a plant that's struggling at the root level simply doesn't have the energy left to bloom.
This is the part most care guides skip. Orchid roots are respiratory organs as much as they are nutrient absorbers. When they can't access oxygen, the whole plant suffers, silently, slowly, and without much visible warning until it's a real problem.
What Makes a Good Orchid Potting Mix And What Doesn't
Here's what separates an orchid-specific mix from regular indoor plant soil:
Drainage Speed
A good orchid potting mix drains almost instantly. You pour water in, it flows through and out the bottom within seconds. No pooling, no sitting moisture, no soggy corners. If water takes more than 30 seconds to drain, the mix is too dense.
Air Pockets
The chunkier the mix, the better. Large pieces of bark, perlite, and other coarse materials create natural gaps between particles, gaps that stay filled with oxygen between waterings. This is what orchid roots are built to live in.
The Right Ingredients
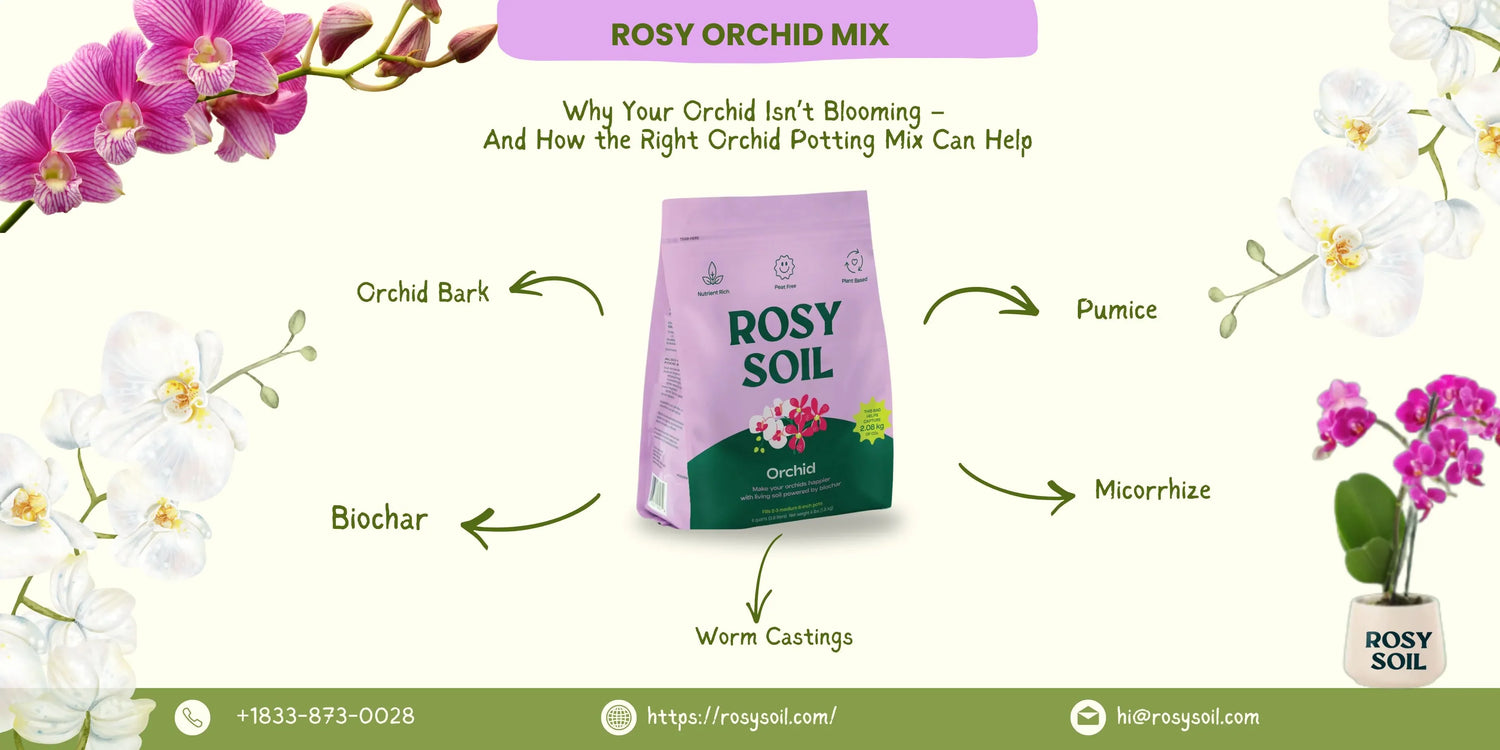
A well-built orchid bark potting mix typically contains:
-
Orchid Bark (the base): The backbone of any orchid mix. Bark chunks create an open, airy structure that mimics tree bark in the wild. Medium-grade bark (about 1–2cm pieces) works for most Phalaenopsis. Finer bark holds a bit more moisture; chunkier bark drains faster.
-
Pumice: Improves drainage and aeration in the mix. This porous volcanic rock holds small amounts of moisture and nutrients while keeping the potting medium open and airy, helping orchid roots stay healthy and preventing compaction.
-
Horticultural Charcoal: Keeps the mix smelling fresh, discourages bacterial buildup, and helps stabilize pH. Rosy Soil uses biochar, a premium form of horticultural charcoal that also improves nutrient retention and hosts beneficial microorganisms. It's a significant upgrade from standard charcoal.
-
Sphagnum Moss (optional, in small amounts): Adds just a touch of moisture retention. Useful for homes with dry air or for growers who tend to forget waterings. In humid homes, skip it or use very little.
What it should NOT contain: Fine particles, peat moss, or anything that looks like regular potting soil. Dense, moisture-holding ingredients are the enemy.
Gardener's tip: Pick up a handful of your orchid's current mix. If it clumps together or feels wet two days after watering, it's already working against your plant.
Signs Your Orchid's Mix Is Holding It Back
Not sure if your current mix is the culprit? Here are a few signs worth paying attention to:
-
The mix stays wet for days after watering. A healthy orchid mix should feel dry or almost dry within 1–2 days. If it's still damp on day three or four, it's holding too much moisture.
-
Your roots look brown, mushy, or paper-thin. Healthy roots are firm and either green (when wet) or silvery-white (when dry). Mushy or dark roots are a sign of rot from sitting in wet soil too long.
-
The mix has broken down into fine particles. Bark and other organic materials break down over time, eventually becoming dense and soil-like, exactly the opposite of what you want. If your mix looks more like dirt than chunks, it's past due for a replacement.
-
The plant hasn't bloomed in over a year. While light and temperature play a role in blooming, a plant that's been struggling at the root level for months will often stop flowering until those roots are healthy again.
Common Mistakes Orchid Growers Make With Soil

Even experienced plant parents get these wrong. Watch out for:
-
Using decorative pots without drainage holes. It doesn't matter how good your orchid bark potting mix is; if water can't escape the pot, it pools at the bottom and rots the roots. Always use a grow pot with drainage holes inside any decorative outer pot.
-
Watering on a schedule instead of checking the mix. Orchids don't care what day of the week it is. Water when the mix is nearly dry, not because it's been seven days. Finger-test the mix every few days rather than following a fixed calendar.
-
Reusing old mix after repotting. Old bark that's already broken down won't suddenly recover. Once it's decomposed to a soil-like texture, it's done. Fresh orchid potting mix for repotting every single time, no exceptions.
-
Skipping the resting period after repotting. Repotting is stressful for a plant. Give it 24–48 hours before watering, keep it out of direct sun for a week, and don't fertilise for at least a month. Let it settle in.
-
Choosing the wrong grade of bark. Fine bark for large Phalaenopsis suffocates roots just like regular soil does. Match the bark grade to the root size: chunkier bark for thicker roots, finer bark for smaller, more delicate root systems.
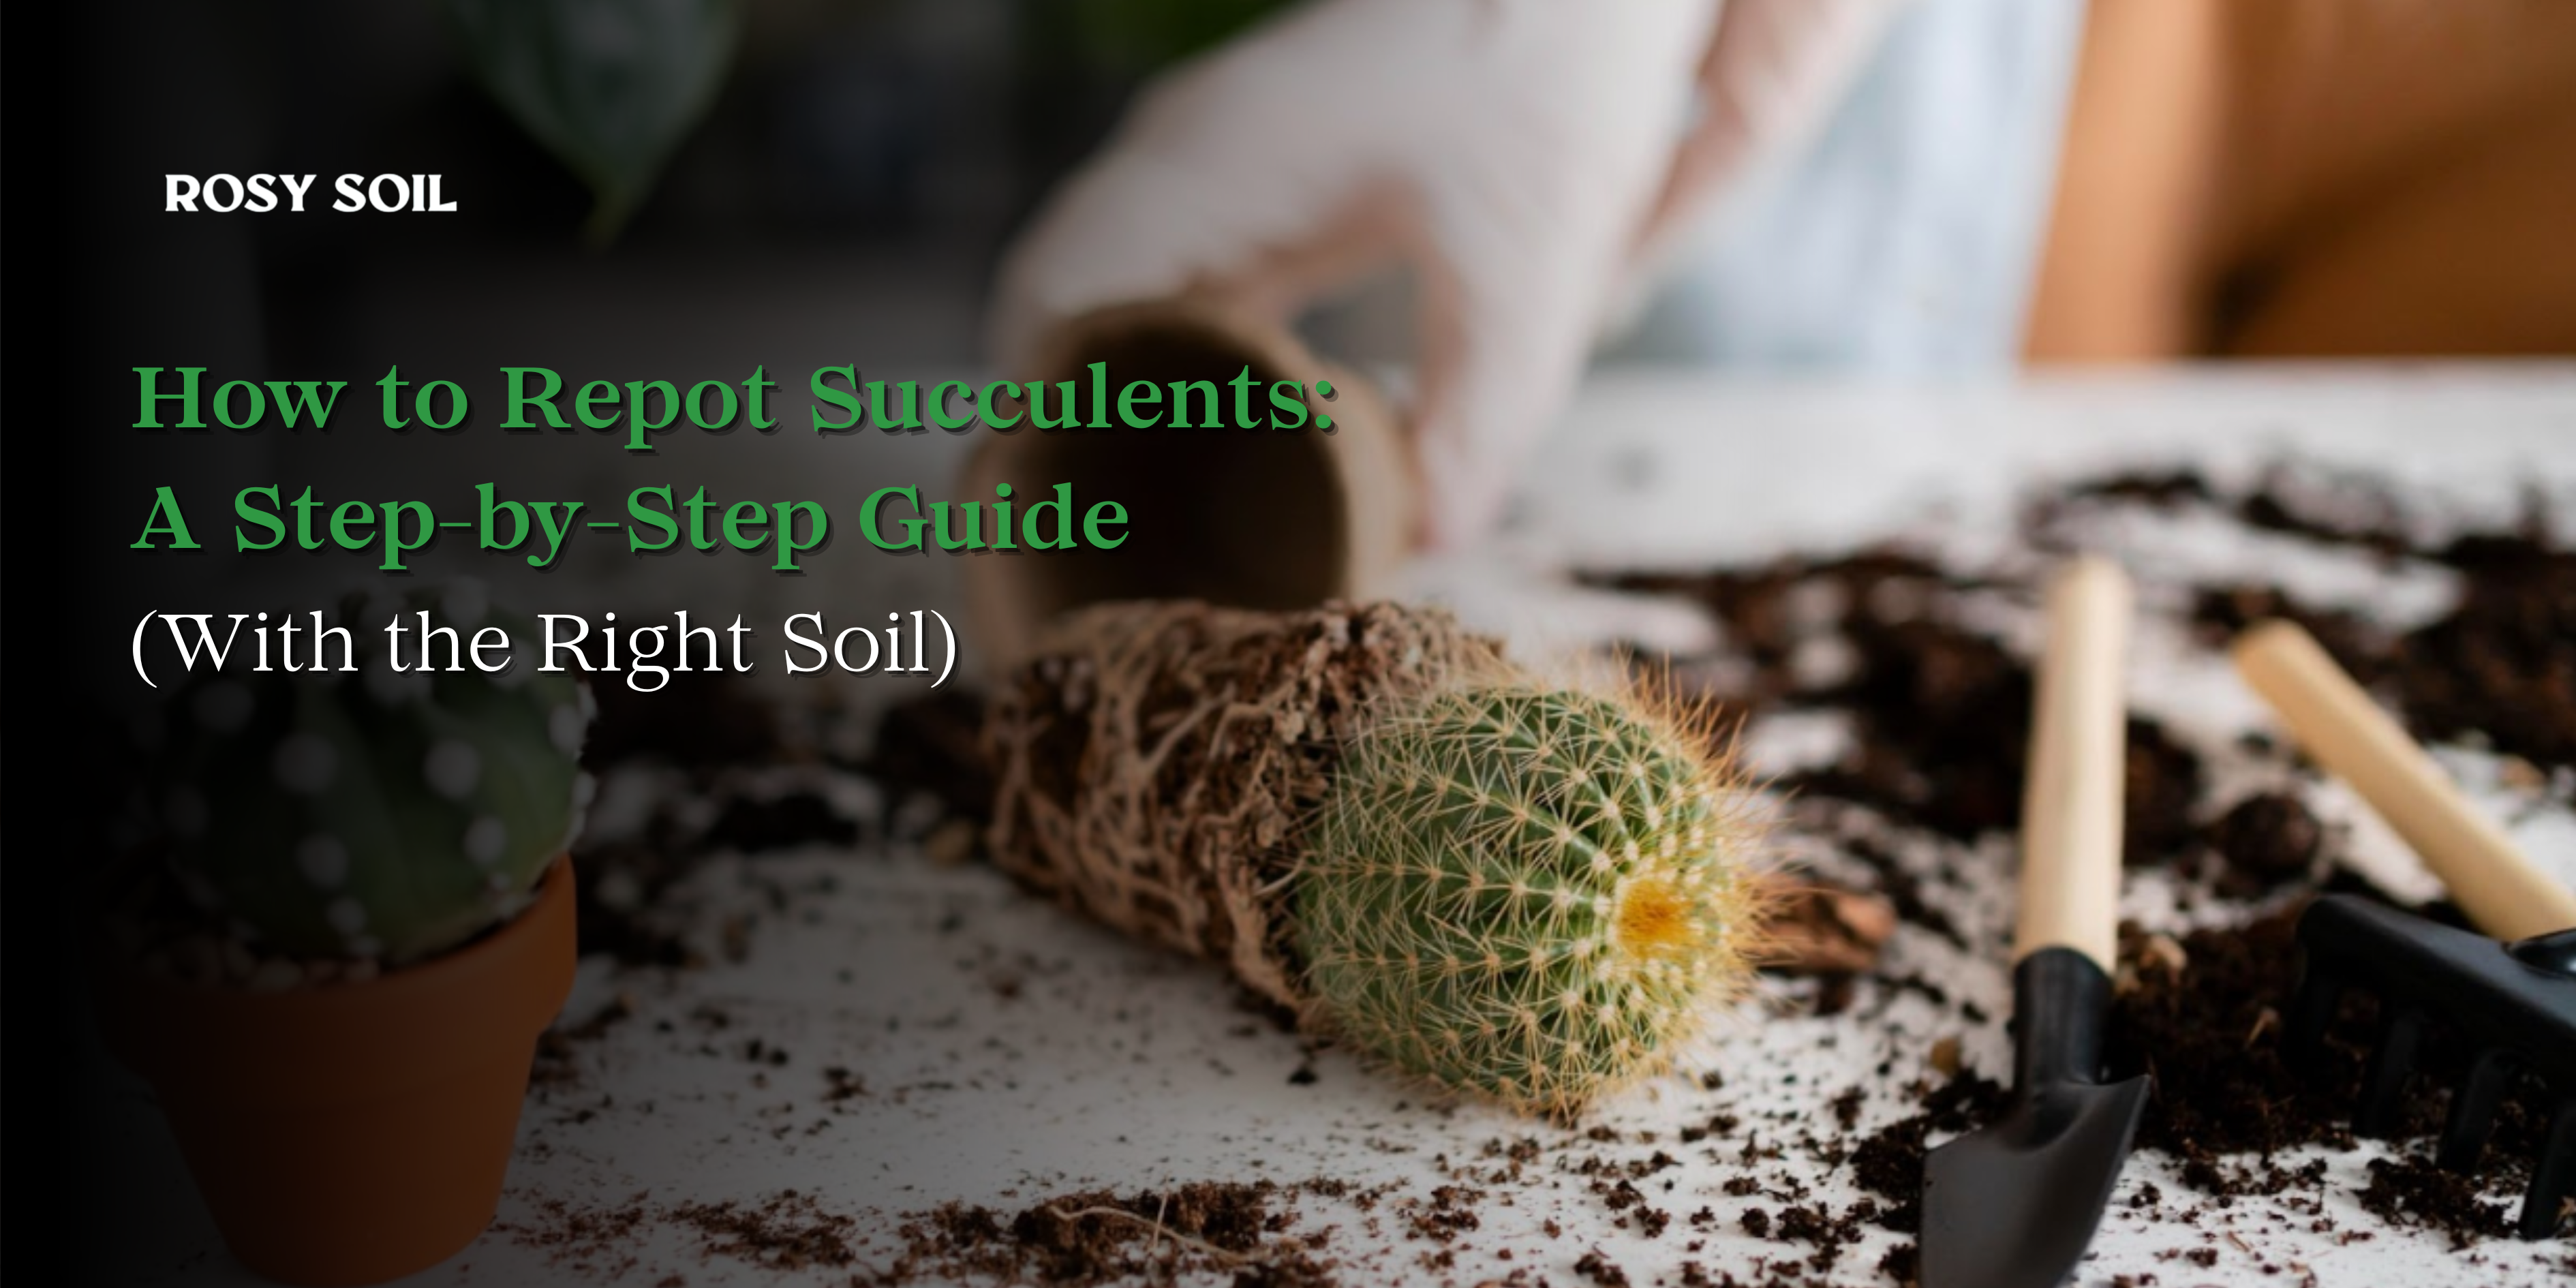
How to Repot with Fresh Orchid Potting Mix for Repotting
Repotting is simpler than it sounds. Here's how a gardener actually does it:
When to Repot
Orchids typically need repotting every 18 to 24 months, even if the plant appears healthy. Over time, orchid potting mix breaks down and loses the chunky structure that roots need for proper airflow and drainage.
However, avoid repotting while the orchid is blooming. Repotting during this stage can stress the plant and may cause the flowers to drop prematurely. The best time to repot an orchid is after the blooming cycle has finished, when the flowers have fallen and the plant enters a resting or growth phase. This allows the orchid to adjust to the fresh potting mix and establish healthy roots without interrupting its flowering period.
What You Will Need
-
Fresh orchid potting mix for repotting (bark-based, chunky)
-
A pot with drainage holes (same size or one size up)
-
Clean scissors or pruning shears
-
A small bowl of water
Steps to Know
1. Remove the plant. Gently tip the pot and ease the plant out. Don't yank; orchid roots sometimes grip the pot walls and need to be carefully loosened.
2. Clear out all old mix. Shake it off, rinse the roots under lukewarm water if needed. Don't try to save any of the old mix; it's done its job.
3. Inspect and trim the roots. Healthy roots are firm and white or green. Trim anything soft, brown, or hollow with clean scissors. Cut back to where the root turns healthy and firm.
4. Let it air out. Set the plant aside for 20–30 minutes before potting. This lets any trimmed ends seal over slightly, which reduces rot risk.
5. Pot into fresh mix. Add a layer of fresh orchid bark potting mix to the pot, nestle the roots in, and fill around them. Press gently, snug enough to keep the plant upright, but loose enough that air can still move through.
6. Wait before watering. Hold off for 24–48 hours. Then resume normal watering.
Tip: If the plant wobbles after repotting, stake it loosely with a bamboo stick and a soft tie. Orchids can take a few weeks to anchor their roots into the new mix.
Also Read: Winter Houseplant Care Tips: How to Keep Your Plants Thriving Through the Cold Months
Choosing the Right Orchid Soil Mix for Your Conditions
Not all orchid mixes work equally well in every home. Here's how to match the mix to your environment:
-
Humid climates or heavy-handed waterers: Go chunkier. More bark, more perlite, no moss. You want maximum drainage because moisture is never in short supply.
-
Dry climates or forgetful waterers: Add a small amount of sphagnum moss to the mix. It holds just enough extra moisture to bridge the gap between waterings without drowning the roots.
-
Beginners: Medium-grade bark with pumice and charcoal is the most forgiving combination. It drains well but has enough body to be manageable.
-
Multiple orchid species: Phalaenopsis prefer medium bark. Cattleyas and Dendrobiums generally prefer coarser mixes with even more drainage. Vandas sometimes skip the pot altogether and grow in wooden baskets with zero mix.
The right soil for indoor plants is always species-specific, but for the orchids most of us grow at home, a medium bark-based mix covers nearly every situation.
What Happens After You Get the Mix Right
Here's the part worth knowing: after repotting into a fresh, well-draining mix, your orchid may go quiet for 4–8 weeks. Don't panic. It's adjusting. New roots are forming, and old damage is healing.
You'll know things are going well when you start to see new green root tips emerging from the mix, bright, active, and reaching outward. That's the sign that the plant is healthy and building toward its next bloom.
Once root health is restored, you can start thinking about the other factors that trigger flowering: a 10–15°F temperature drop between day and night (a window in early fall does this naturally), bright indirect light, and a light monthly feed with a balanced fertilizer.
But all of that only works if the roots can actually absorb it. Get the mix right first. Everything else builds on that.
How Rosy Soil Approaches This Differently
Most orchid potting mixes on the market are bark-and-perlite and not much else. Functional, but basic.
Rosy Soil takes a different approach. Every mix starts with biochar, a carbon-negative ingredient that does several things regular charcoal can't. It hosts beneficial microorganisms (mycorrhizae) that form symbiotic relationships with plant roots, improving nutrient uptake at a biological level. It retains nutrients rather than letting them wash away with every watering. And unlike peat-based mixes, it actually captures carbon rather than releasing it.
For an orchid, that means a mix that doesn't just support the roots, it actively feeds the microbial ecosystem around them, giving the plant the best possible conditions to grow and bloom.
No synthetic additives. No peat. No fillers. You can learn more about the science here, or take the soil quiz if you're not sure which mix is right for your plants.
Conclusion
If your orchid has been sitting bloomless for a while, start at the bottom before you change anything else. Check the roots. Check the mix. Ask yourself when you last repotted.
Healthy roots make everything possible. The right orchid potting mix is what makes healthy roots possible. It really does start that simply.
Once you give your plant the foundation it actually needs, an open, airy, fast-draining orchid bark potting mix that lets the roots breathe, you will be surprised how quickly things turn around.
Ready to upgrade the foundation? Shop Rosy Soil or find a store near you.
FAQs
Q: Can I just use regular potting soil for my orchid?
A: Regular soil for indoor plants stays wet too long and suffocates orchid roots. A chunky bark-based orchid potting mix is the only thing that actually works for them.
Q: How often do I need to change the mix?
Every 18 to 24 months. Bark slowly breaks down over time, and once it looks like dirt, the roots are already struggling. Don't wait for signs, just repot on schedule.
Q: Does my orchid still need fertilizer with a good mix?
A: The mix handles drainage, not feeding. A diluted fertilizer once a month during the growing season is enough. Rosy Soil's biochar mix holds nutrients better than most, so less fertilizer goes a long way.
Q: How do I know when it's about to bloom again?
A: A small green spike will appear between the leaves near the base; that's the bloom coming. It usually shows up once the roots are healthy, light is consistent, and nights have been a bit cooler.
